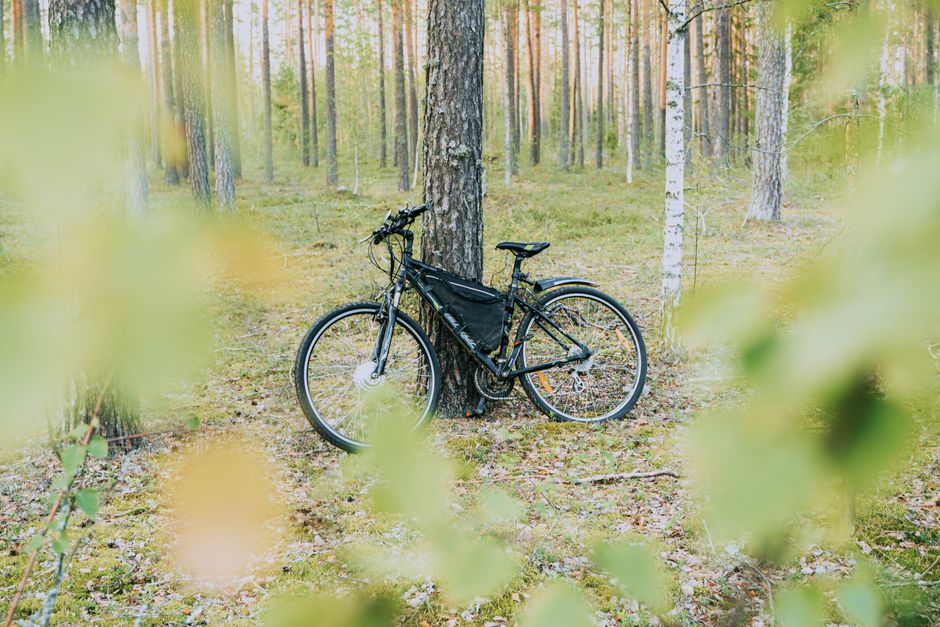
The first time I tried to strap a tent to a $400 hybrid bike, the bungee cord snapped in a parking lot and the tent pole hit a parked car. I had no rack, no proper bags, and no idea that the bike’s aluminum fork couldn’t handle the wobble. That trip lasted four hours before I turned around.
Three years later, I’ve ridden budget bikes across Vietnam, northern Spain, and a very wet stretch of the Oregon coast. I’ve broken a derailleur in a thunderstorm, cracked a cheap rear rack on day two of a two-week trip, and learned that most advice about “you need a $2,000 touring bike” is wrong. Or at least incomplete.
What you actually need is a bike that fits, a rack that won’t fail, and the willingness to accept that a budget travel bike is a series of compromises you can manage. Here’s what I’d tell anyone starting out.
The Real Cost of a Budget Travel Bike (And Where to Spend First)
Most people fixate on the bike frame. That’s backwards. The frame matters less than the contact points and the cargo system. A $500 used steel bike with a $180 rack and good tires will out-tour a $1,200 new bike with cheap accessories every time.
Let’s break down what a realistic budget setup looks like in 2026, based on what I actually paid and what I’d pay again.
| Component | Budget Option | Realistic Price | What You Get |
|---|---|---|---|
| Bike (used steel or aluminum) | 1990s Trek 520, Marin Four Corners, Surly Cross-Check | $350–$700 | Reliable frame, mounts for racks, forgiving geometry |
| Rear rack | Tubus Logo Classic, Axiom Journey | $80–$140 | Steel or heavy-duty aluminum, won’t crack on washboard |
| Panniers | Ortlieb Back-Roller Classic, Rhinowalk | $100–$180 | Waterproof, secure attachment |
| Tires | Schwalbe Marathon Plus, Continental Contact Plus | $50–$80 each | Puncture resistance matters more than weight |
| Saddle | Brooks B17, WTB Volt | $60–$120 | Your butt will thank you after day 3 |
Total budget: roughly $700–$1,200 all-in. That’s less than one month’s rent in most cities, and the bike will last years if you maintain it.
Buying Used: What to Check Before You Hand Over Cash
I’ve bought three used bikes for touring. One was a steal. One needed $200 in immediate repairs. One had a cracked seat tube that I missed because I was too excited to check properly.
Here’s my pre-purchase checklist:
- Frame material: Steel is heavier but repairable anywhere. Aluminum is lighter but cracks can’t be welded easily in a small town. For budget travel, steel wins.
- Rack mounts: Look for eyelets near the rear axle and on the seat stays. If the bike lacks them, you’re stuck with clamp-on racks that shift under load.
- Wheel size: 26-inch wheels are easier to find in developing countries. 700c is common in Europe and North America. Match the wheel size to your destination.
- Drivetrain wear: Grab the crank arm and wiggle it side to side. Movement means a worn bottom bracket. Replacing that costs $40–$80.
- Rust inside the frame: Remove the seat post and look down the tube. Surface rust is normal. Flaking rust means the frame is dying.
If you’re not confident checking these, bring a friend who is. A $50 pre-purchase inspection at a local bike shop is cheaper than a cracked frame on day one.
Racks and Bags Fail More Often Than Bikes Do
This is the section I wish someone had shown me before my first real trip. I bought a $35 aluminum rack from a big-box store. It cracked at the weld on day two of a 300-mile ride through the Loire Valley. I finished the trip with my sleeping bag zip-tied to my handlebars and my tent stuffed into a backpack. It was miserable.
The lesson: the rack is not the place to save $50.
After that failure, I switched to the Tubus Logo Classic ($140). It’s steel, it’s rated for 40 kg (88 lbs), and it has a lower rail that lets you mount panniers lower for better stability. I’ve loaded it with 30 kg of water and groceries on a desert stretch in Arizona and it didn’t flex.
The Axiom Journey ($80) is a solid aluminum alternative if you’re counting grams. It’s rated for 50 kg but I wouldn’t push it past 25 kg on rough roads. Aluminum fatigues differently than steel — it doesn’t bend, it snaps.
Panniers: Waterproof or Nothing
I’ve tried cheap dry bags strapped to racks. I’ve tried canvas panniers with rain covers. Both failed in sustained rain. The covers blew off. The dry bags shifted and rubbed against spokes.
The Ortlieb Back-Roller Classic ($180 per pair) is the default for a reason. The mounting system clicks on and off in seconds. The fabric is genuinely waterproof — I’ve forded a river with them submerged and the contents stayed dry. They’re expensive, but they outlast three pairs of cheaper bags.
If $180 is too steep, the Rhinowalk panniers ($90) are a decent budget alternative. The mounting hardware is less refined and the fabric feels thinner, but they’ll survive a week of rain. I used them for a month in Vietnam and only one clip cracked, which I replaced with a zip tie.
When You Should NOT Buy a Budget Travel Bike
This is the counterintuitive part. A budget travel bike is a bad idea if you’re planning any of the following:
- Multi-month expeditions through remote terrain: The Himalayas, the Pamir Highway, the Australian Outback. A frame failure or wheel failure there isn’t an inconvenience — it’s a rescue situation. Spend more for a purpose-built touring bike like the Surly Long Haul Trucker ($1,600) or Kona Sutra ($1,800).
- Racing or covering 100+ miles daily: Budget bikes are heavier. You’ll feel every extra pound on long climbs. A lighter bike like the Trek Domane AL 2 ($1,000) with a bikepacking setup makes more sense.
- If you live in a tiny apartment with no storage: A dedicated travel bike takes space. A folding bike like the Brompton C Line ($1,500) or a Tern Verge ($1,200) fits in a closet and can be taken on trains and buses more easily.
For everyone else — weekend trips, a few weeks in Europe, a month in Southeast Asia — a budget setup works. You’ll spend less than the cost of a rental car and you’ll own the bike afterward.
The Setup Mistakes That End Trips Early
Most failed trips aren’t caused by the bike. They’re caused by setup errors that compound over days. Here are the four that hurt me or people I’ve ridden with.
1. Overpacking to the Point of Instability
Every extra pound sits on your rear wheel and raises your center of gravity. Load too much weight too high, and the bike shimmies on descents. I once packed a full-size tripod and a hardcover book. The bike wobbled so badly at 30 mph that I had to walk downhill.
Keep total cargo under 15 kg (33 lbs) for a rear-only setup. If you need more, add a front rack and front panniers to distribute the load. The Surly Nice Rack ($150) is the standard front option.
2. Ignoring Spoke Tension
Budget wheels often come from the factory with uneven spoke tension. Add 20 kg of gear and hit a pothole, and spokes start snapping. I broke three spokes on a trip through the Pyrenees because I never had the wheels tensioned before leaving.
A wheel true and tension job costs $30–$50. Do it before every major trip. It’s the cheapest insurance you can buy.
3. Choosing the Wrong Saddle
The saddle that came on my used bike was a narrow racing saddle. After six hours, I couldn’t sit down without pain. The Brooks B17 ($130) is heavy and takes 500 miles to break in, but after that it’s the most comfortable saddle I’ve owned. The WTB Volt ($70) is a lighter, cheaper option that works for most riders.
Don’t start a long trip with a new saddle. Break it in for at least two weeks of daily riding first.
4. Forgetting That Repairs in Small Towns Are Slow
In a city, a broken derailleur is a 30-minute fix. In a village of 300 people in rural Laos, it’s a three-day wait for a part to arrive by bus. Carry a spare derailleur hanger ($15), a multi-tool with a chain breaker, and two spare tubes. Learn to fix a flat in the dark before you need to.
Three Bikes I’d Actually Recommend for Budget Travel
If you’re starting from zero and want a specific recommendation, here are three bikes I’ve either owned or ridden extensively enough to judge.
Best all-around budget tourer: Marin Four Corners ($850 new). Steel frame, mounts for front and rear racks, comes with wide tires and disc brakes. It’s the cheapest new bike I’d trust for loaded touring. The stock saddle is bad, but everything else is solid.
Best used-bike strategy: 1990s Trek 520 or Miyata 1000 ($300–$500 used). These old steel tourers are nearly indestructible. They have all the mounts you need and they’re easy to repair. The downside is rim brakes and older drivetrains, but for flat and rolling terrain they’re perfect.
Best if you’re flying often: Surly Cross-Check ($700 used, $1,000 frame-only new). It’s a cyclocross bike that converts to a tourer with a rack and fenders. The geometry is snappier than a dedicated tourer, which makes it more fun unloaded. I’ve flown with mine four times in a standard bike box without damage.
The Marin Four Corners is my pick for most people starting out. It’s available, it’s under $900, and it comes with everything you need except racks and bags. Add the Tubus Logo Classic and Ortlieb Back-Rollers, and you have a setup that will last a decade.
That first failed trip with the bungee cord and the parking lot tent pole feels like a long time ago. But the lesson stuck: the bike matters less than how you set it up. Spend on the rack, the saddle, and the tires. Buy a used steel frame. Learn to fix a flat and true a wheel. Then just go — the bike will handle the rest.